
This chapter describes how to configure Cambium cnMaestro On-Premises Version 5. Before proceeding further with the configuration, you need to configure Network Station with a domain and a gateway as described in Adding a New Gateway.
The prerequisites required for configuration are:
Inside Network Station, select your Gateway, click the dropdown menu, and choose Edit.
Expand the General Data section.
In the Hardware Type field, choose Cambium Network cnMaestro On Premises or cnPilot Standalone
Log in to your Cambium cnMaestro Controller.
Navigate to Administration > Server > SSL Certificates.
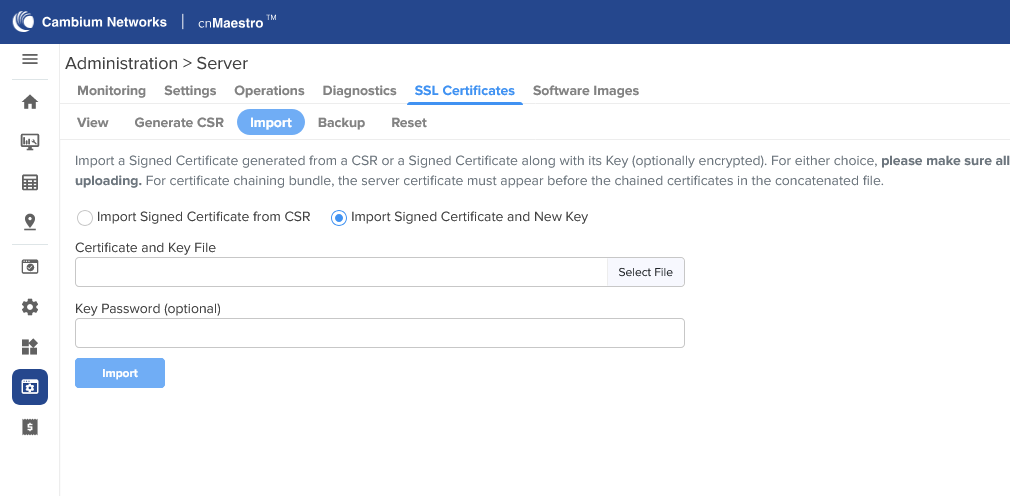
Click Import.
Select Import Signed Certificate and New Key, then upload your certificate in PEM format.
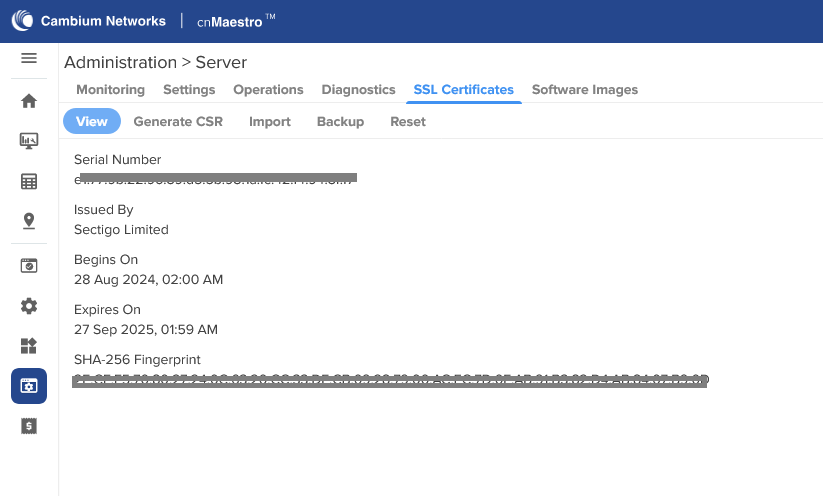
Click View to verify that the certificate is properly loaded and with your CA authority.
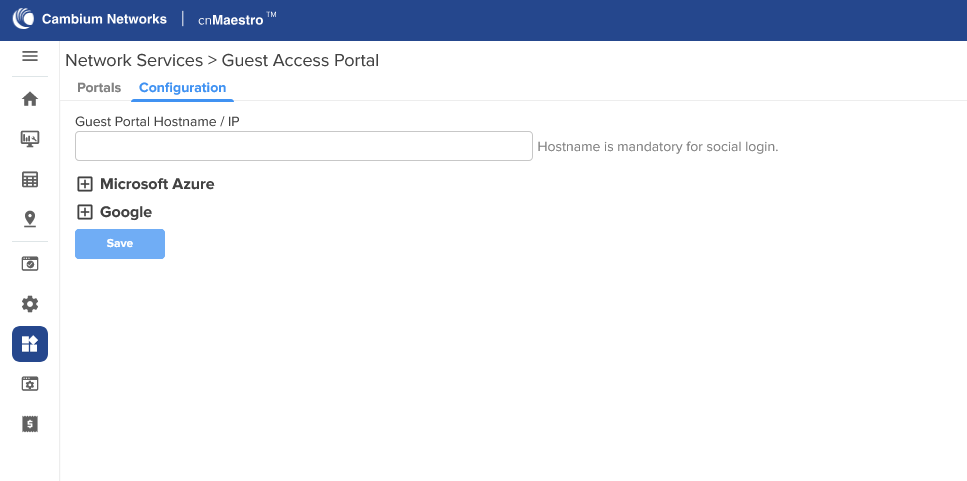
Now, go to Network Services > Guest Access Portal > Configuration.
Set a valid hostname that points to your Controller IP and matches the certificate imported in the previous steps.
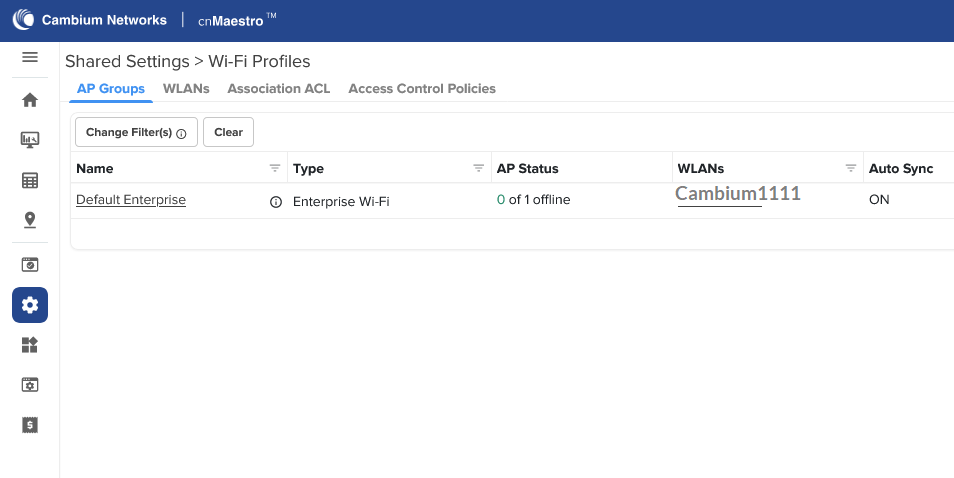
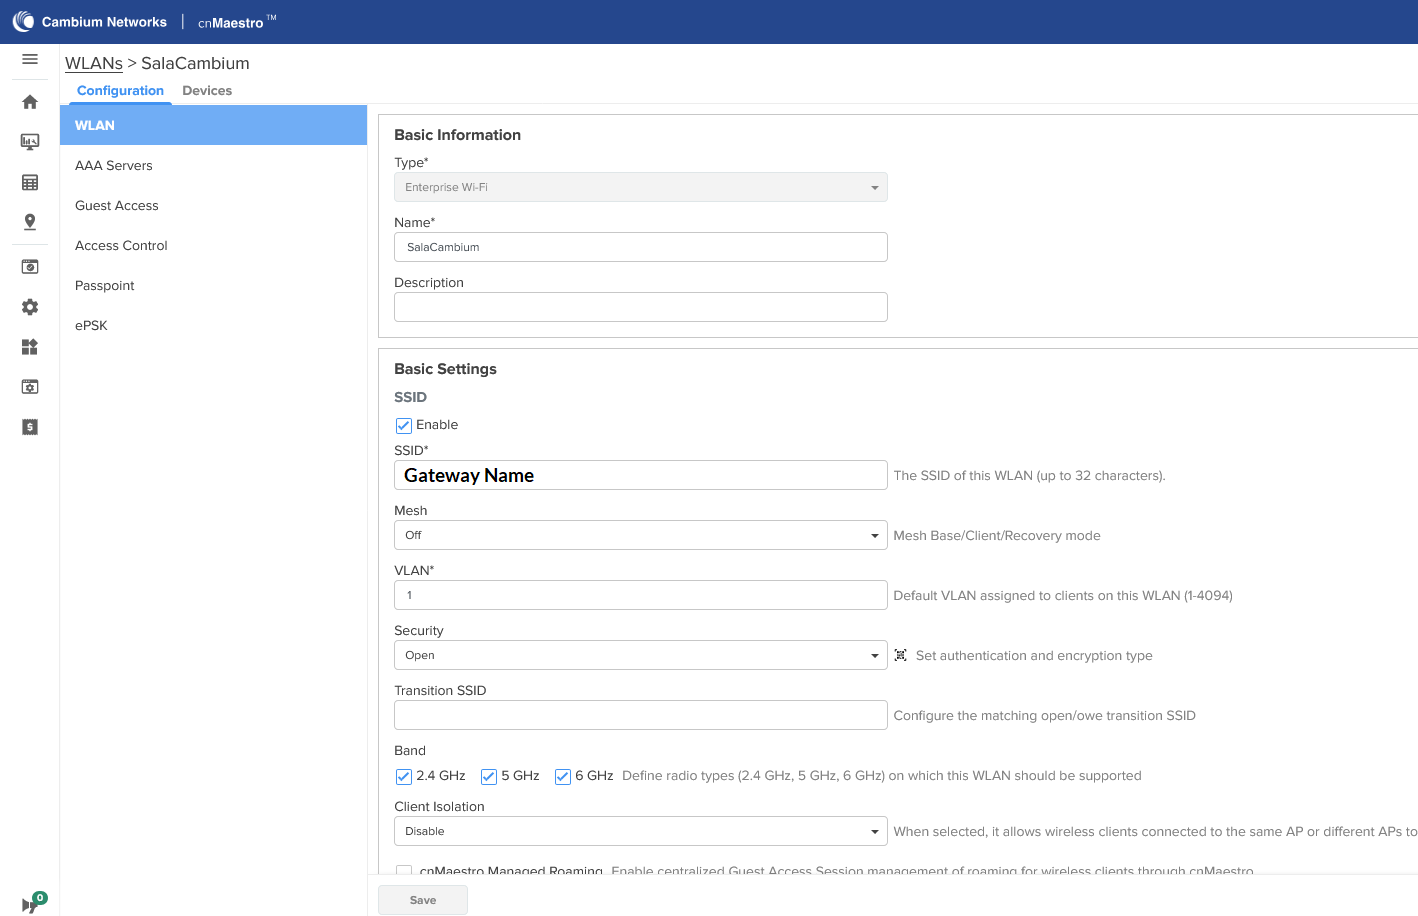
Now, go to Shared Settings > Wi-Fi Profiles, select your AP Group, and click Add WLAN at the bottom right.
Configure the WLAN section with your preferred network settings, including your SSID (we recommend using the same name as the Network Station’s Gateway, e.g. Cambium1111, Figure Gateway Name).

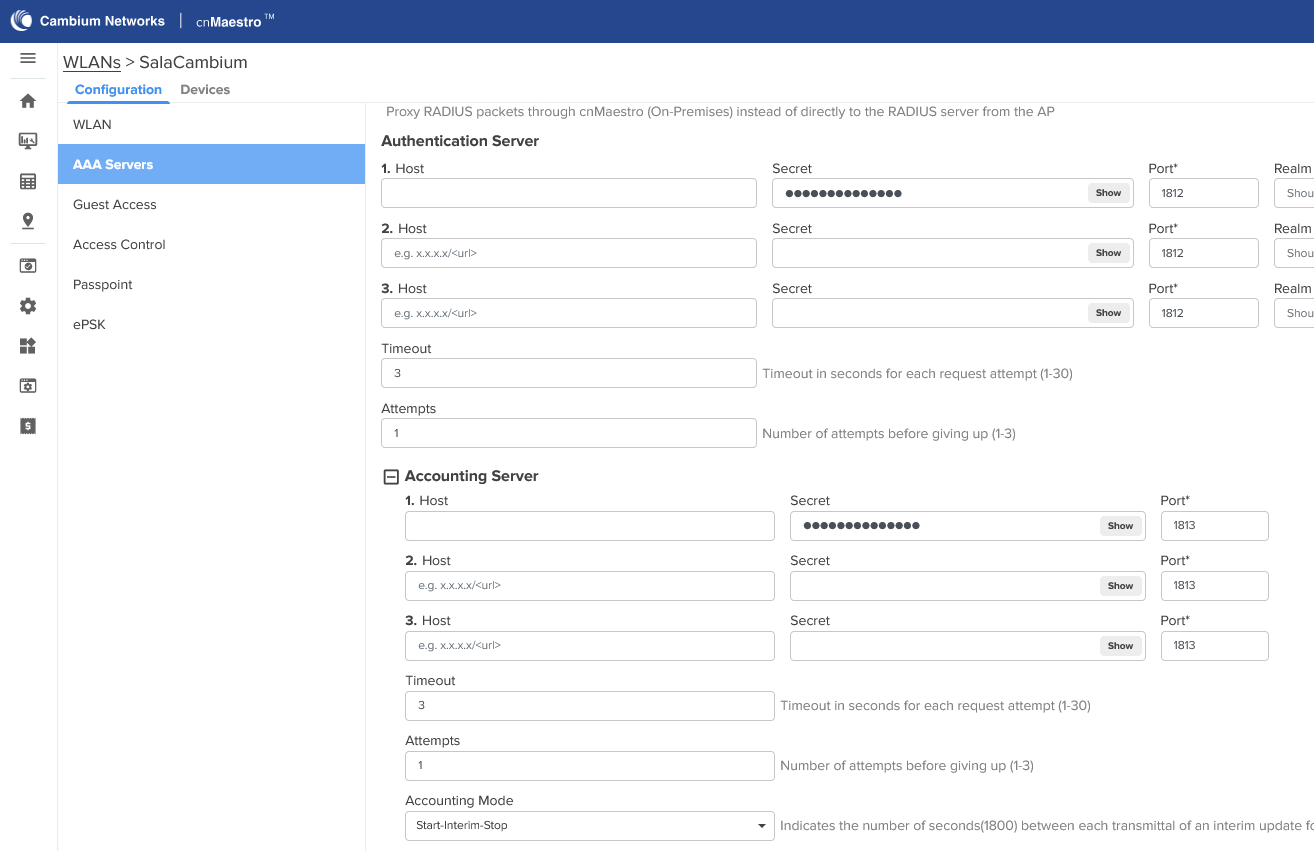
In the AAA Server section, enter your Network Station IP for both the Authentication and Accounting Server fields, then enter your Radius secret.

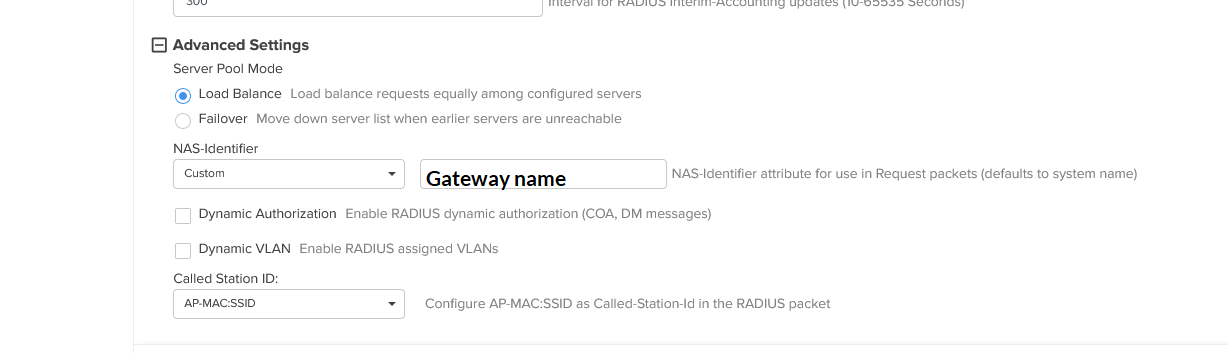
Under Advanced Settings, select Custom from the NAS-Identifier dropdown and enter your Network Station’s Gateway name.
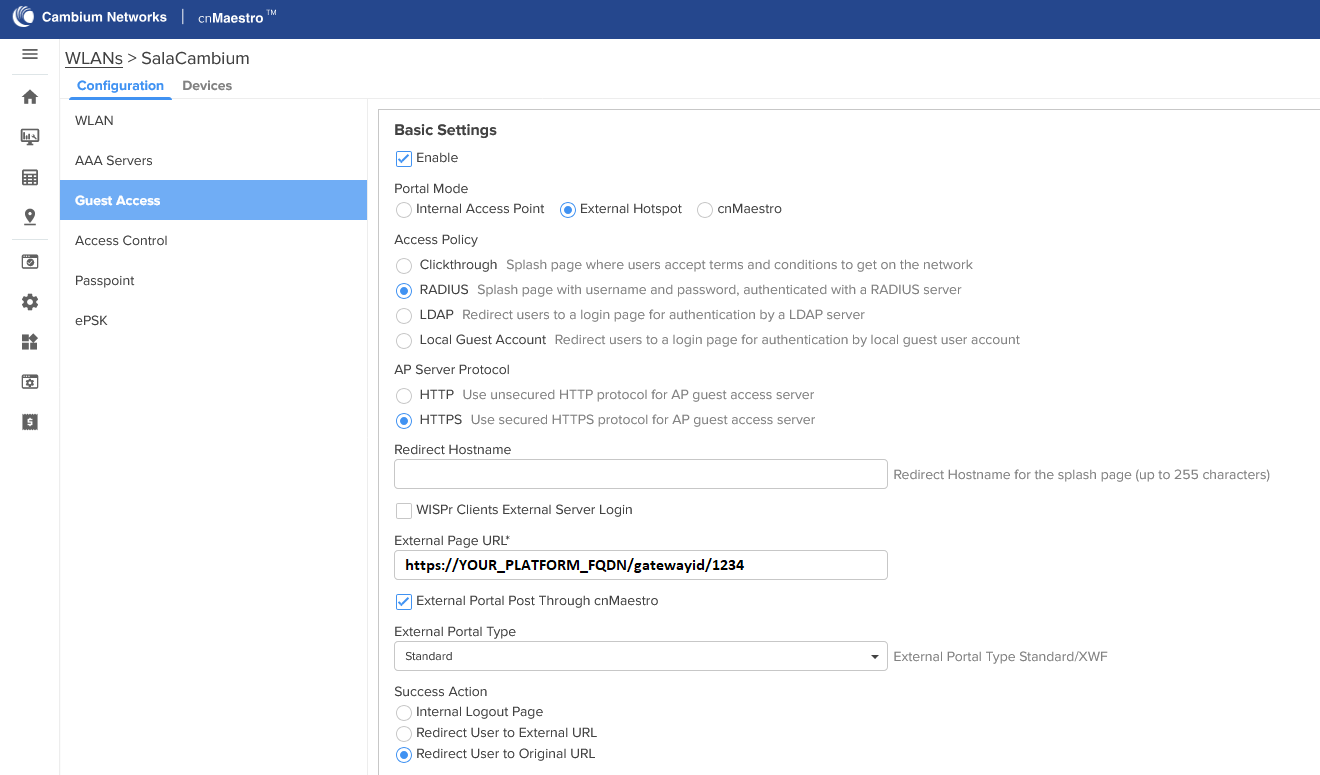
Now move to Guest Access, flag Enable, and select External Hotspot. Then tick RADIUS, and choose HTTPS.
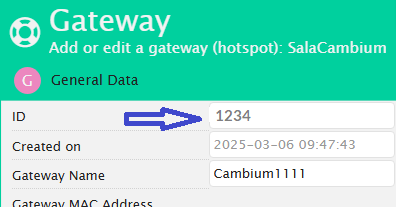
In External Page URL, enter your Gateway URL: https://YOUR_PLATFORM_FQDN/gatewayid/1234 (replace 1234 with your Network Station’s gateway ID Figure Gateway ID)
Enable External Portal Post Through cnMaestro and set External Portal Type to Standard.
Then, select Redirect User to Original URL and flag Prefix Query Strings in Redirect URL.
Under Pre-Login Allowed Domains, add the Walled Garden entries downloaded from your Network Station, along with the hostname chosen for Cambium cnMaestro (configured earlier).
To know the accurate and relevant Walled Garden you need to add one by one, access your Network Station platform and click the contextual dropdown menu of your gateway. Select Download Walled Garden to get a .txt file with your accurate walled garden list as shown Figure Download Walled Garden.

Click Save, and ensure your AP synchronises successfully.